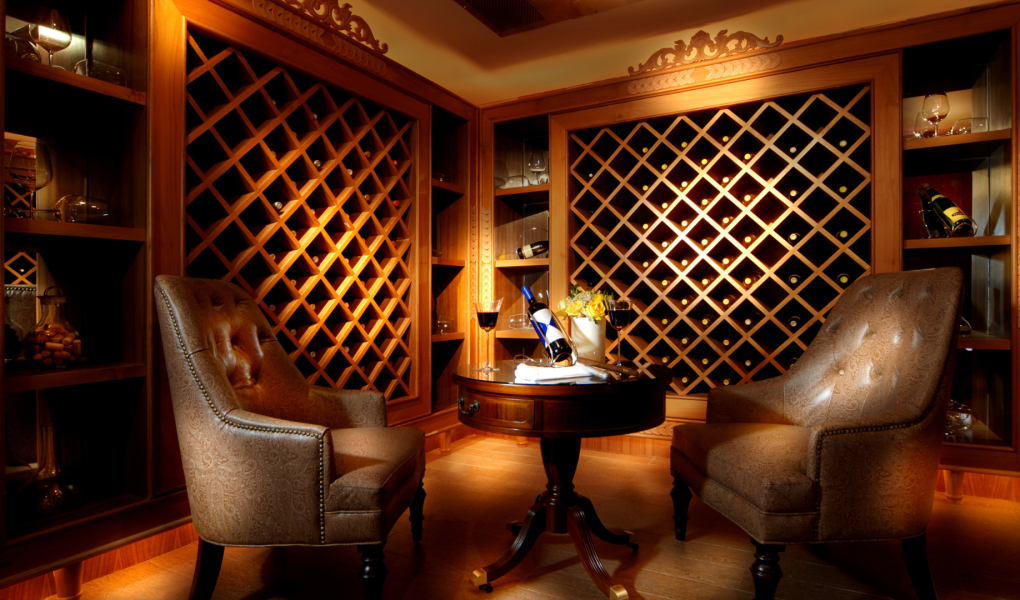
Quality wine cellars are without doubt, one of the best ways you can store wine. Not only does it exude a classy feel, but it also stores wines like they should be. If you’re like most people, however, you probably do not have a wine cellar. Nonetheless, it need not be an arduous task to have one made either!
Whether you’re interested in making wine or just want to relish the Fine Wines you buy, it’s easy to make your own DIY home cellar. This article will show you how to create a DIY home wine cellar that fits your needs and tastes.
Why make your own wine cellar?
DIYing a wine cellar not only saves you some money but also allows you to customize the space to fit your personal needs. There are a few things to keep in mind when designing and building your own wine cellar. Make sure that the space you choose can accommodate the size of your collection.
Consider what materials you’ll need to build your cellar. Take the time to think about how to make your wine cellar stand out. For starters, you can incorporate a Wine Dispenser Machine that allows for efficient and hassle-free serving of your favorite wines directly from your cellar, enhancing the overall functionality and turning your wine cellar into a truly impressive feature of your home. Be sure to factor in cost and time commitment when planning your project. Finally, be prepared to devote some time and effort to maintaining your new wine cellar!
Where to start
If you’re like most people, you don’t have a wine cellar in your home. But you can still enjoy good wine! With a few simple steps, you could build a minimalistic cellar that stores the bottles you buy from a wine club or an off-shop. This could keep your favorite wines fresh and ready to drink.
Before you start though, you need to decide the type of wine storage you want. Do you want a traditional wooden or metal wine rack? If you choose a metal wine rack, are you looking for an upright or horizontal model? And finally, what size bottle do you want to store? There are several nifty and attractive designs to choose from that vary in difficulty for construction and assembly. Sure, there are many you can create with ease. However, there are those that you might need help with to maintain precision.
Once you’ve decided on the details of your DIY home wine cellar, the next step is to seek help if it is an elaborate design, and you need some assistance. So, you should look up on the web “local handyman near me in Ann Arbor” if that’s where you’re at. With the right help, the entire process is made quicker and hassle-free.
As for the supplies necessary to build the design of your choice, you’ll need:
- A piece of wood measuring at least 18 inches by 24 inches (45 cm by 60 cm).
- A drill and screws.
- A level.
- A saw or a handsaw.
- Corkscrews (at least 4).
- A bucket or a large container to store the wine bottles.
- Some cardboard boxes to store the wine bottles in while they’re being stored.
- Some old newspapers or recycled wrapping paper to line the bottom of the bucket or container.
- A thermometer to monitor the temperature of the wine bottles.
- A wine rack or a wooden board to hang the wine bottles on.
Now that you have all of the supplies, it’s time to start building your DIY home wine cellar!
How to make your own DIY wine cellar in minutes
Making your own wine cellar can be easy and inexpensive, but it does require some planning. Here are six steps to creating a DIY home wine cellar in minutes:
- Decide on the size of your wine cellar: A small one will hold up to 12 bottles, while a larger one can accommodate up to 48 bottles.
- Purchase the necessary materials: You’ll need an empty wooden box or cabinet that’s at least 18 inches wide, 16 inches deep, and 30 inches high; a sheet of plywood or OSB; caulk; wood screws; nails; wire mesh; shelving units (at least 24 inches wide and 36 inches high); and wine bottles or similar containers.
- Plan the layout of your wine cellar: The key is to create a logical system that makes sense for you and your wines. You might want two rows of shelves along one side of the cabinet, with room on the other side for a bottle rack or another storage unit. Alternatively, you could put all of your bottles in one big pile on the floor of the cabinet. It’s up to you!
- Assemble the Wine Cellar Box/Cabinet: The first step is to assemble the Wine Cellar Box/Cabinet using wood screws, nails, and wire mesh attached to the top and sides of the plywood or OSB panel. Ensure all seams are caulked so water doesn’t get into the cabinet and cause damage to your wines.
- Add Shelving Units: Once the Wine Cellar Box/Cabinet is assembled, you’ll need to add shelving units so that your wine collection can be properly displayed. You can buy pre-made shelving units or build your own out of wood boards, using a saw and a jigsaw. Be sure to leave enough space between each shelf so that you can easily reach the wines without having to bend down.
- Enjoy Your New Wine Cellar: Now that your wine cellar is ready, you must fill it up with your favorite bottles and enjoy a glass or two whenever you want!


